Scanning Your FP-3000B Negatives
13 Share TweetYou don’t want to throw your pack film negatives away – you want to scan them! It’s super simple to do. Here’s how!

I recently finished shooting my first pack of film in my Polaroid Land Camera 210 and I instantly fell in love. (See what I did there? Haha.) Now, you’re “supposed” to throw away the negative side (that’s the piece of paper you pull your developed print off of), but I thought that was silly. Once dry, I had a perfectly scan-able negative to experiment with! So I kept them and scanned a few of them, and I really liked the results. This is how I did it:
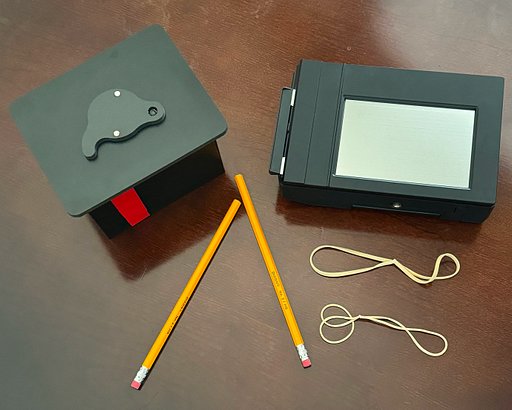
What you need:
- An FP-3000B negative
- Any photo editing program (for this tutorial, I’m using photoshop, but I’m sure any basic program would do)
- A scanner
Step One:
The first thing you want to do after pulling your print (the positive) off of the negative, is let that negative dry. The paper is coated in a chemical-y goo that you probably don’t want to get on your fingers, and you certainly don’t want to get it on your scanner. I like to wait a couple of days to be on the safe side.
Step Two:
After you’ve got it dry, scan it! I lay it on my scanner (nothing fancy btw, but if you want to know what I use it’s an HP Photosmart Plus) and put the settings so that it scans to a 4×6 area.
Step Three:
Once you’ve got it scanned, open it in your photo editing program of choice. Then:
- CROP.

- Once you’ve got it cropped you want to FLIP it. This isn’t absolutely necessary, but it puts in the orientation of your original image. (Remember: the negative is going to be the “mirror” image.) This is particularly important if your image has words. If you don’t flip it, they will be backwards!

- Next you want to INVERT it.

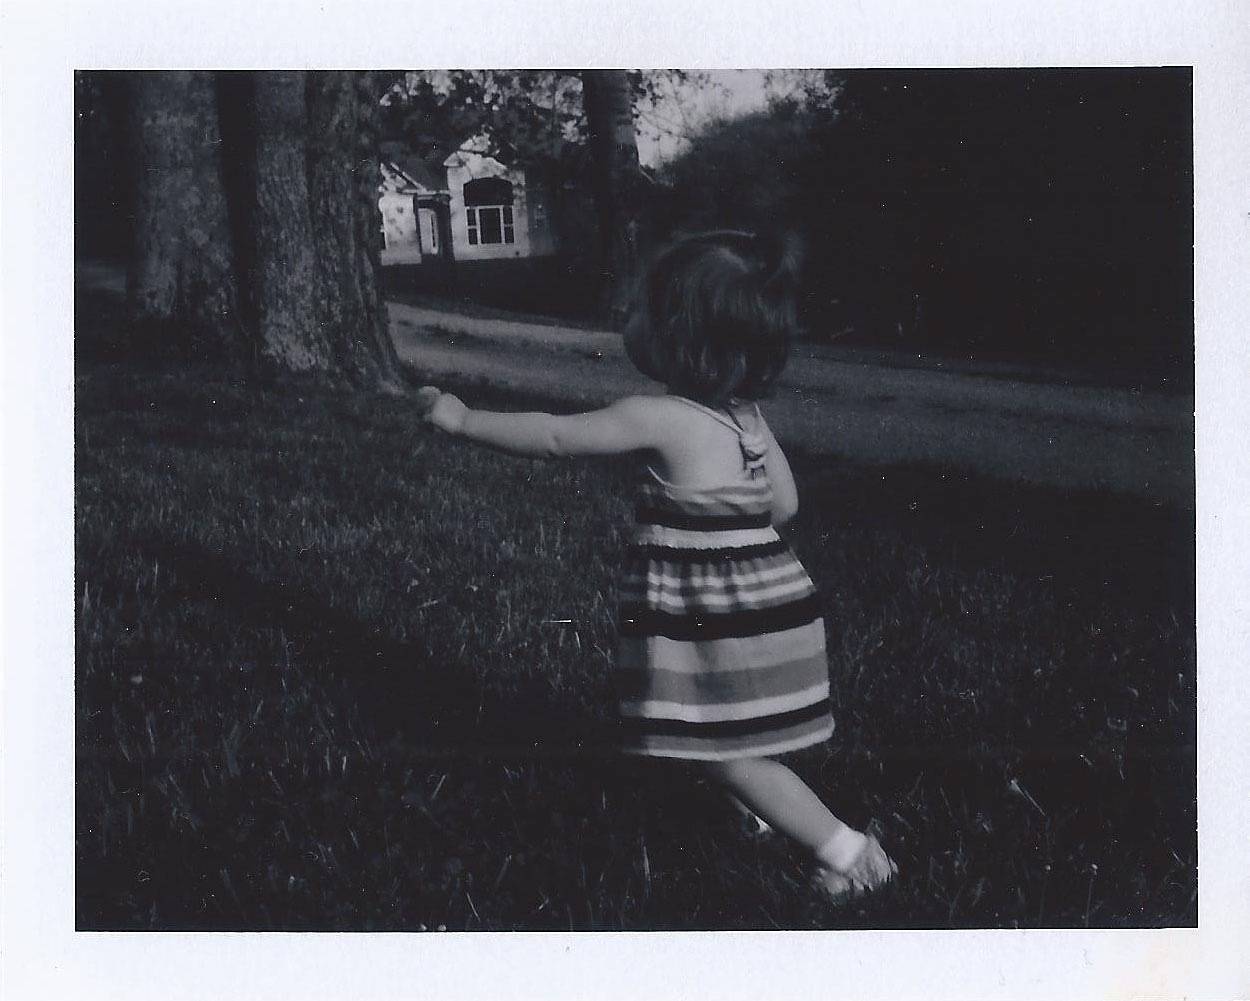
Now you should have something that looks like this:

And from then on, it’s really up to! You can leave it as is and adjust the contrast to your liking, or you can convert it to black and white and adjust contrast and so on from there. (By simply inverting it it looks as if it’s in black and white, but if you actually convert it to black and white after inverting it, it does look a bit different.)
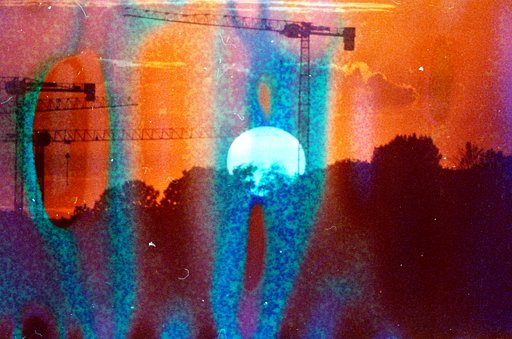
Scanning the negatives really does give your image a different look as you can see below (scans are first, followed by the original print):


Sometimes it’s more subtle than other times, it all depends on what you’re going for.
One thing you may want to consider is altering your negative. In the “bowling” photo, you see spots on the negative that you don’t see in the print. I let a few drops of water splash onto it, and this was the result!
As you can see, the negative is not a piece of trash! Keep it, scan it, alter it, and see what you come up with!
2013-05-24 #gear #tutorials #negatives #tutorial #scanning #tipster #polaroid #pack-film #land-camera #quickie-tipster #select-type-of-tipster #select-what-this-tipster-is-about #fp-3000b


No Comments