TEN AND ONE Residency Week Recap: Claudia Saveja (@-dakota-)
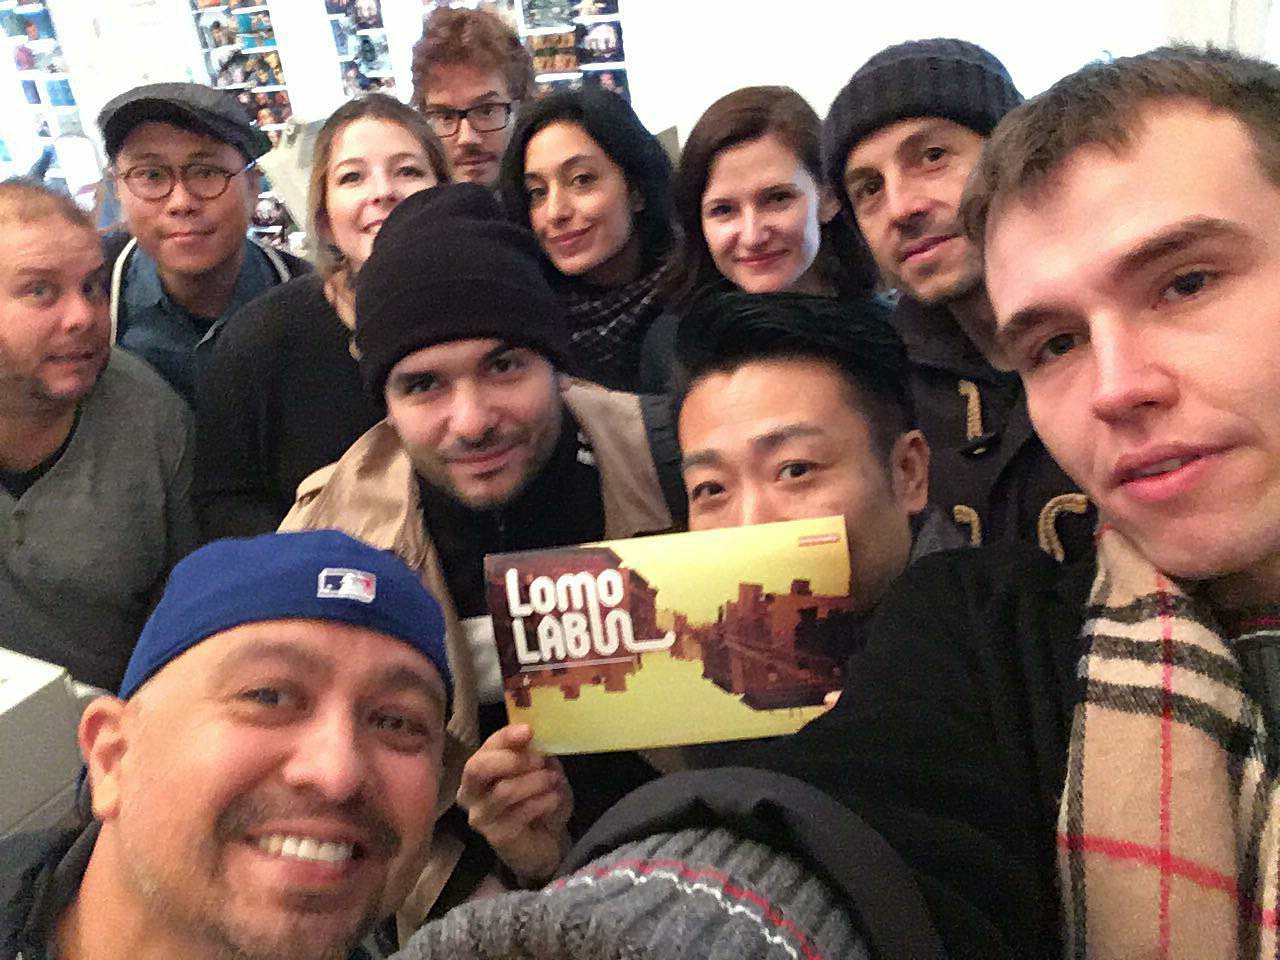
1 19 Share TweetThe TEN AND ONE Residency Week has been very intense and full of activities. From 11 to 18 November, we did LomoWalks around Vienna, guided visits to museums and magazine editorial office, a workshop, a trip to Bratislava, worked on our LomoWall and of course LomoLunch and LomoDinner.
We had the opportunity to attend a Cyanotype Workshop at Lomography Head Quarter held by Michael Wuermer, a young and nice photographer and printer.
First of all Michael asked us to choose a picture from our LomoHome and he brought us in the LomoLab to print our negatives. It was really interesting to see how the staff works at the lab. They were very focused and did not get distracted for a moment even though we were eleven curious lomographers walking around the machinery.
Then we come back to “workshop room” and Michael started to explain how cyanotype works. That day Eleonore (@eleonorepairet) was responsible for managing the Lomography Instagram account and made a live video during Michael's explanation. I think it was very useful because other people had the opportunity to ask interesting questions.
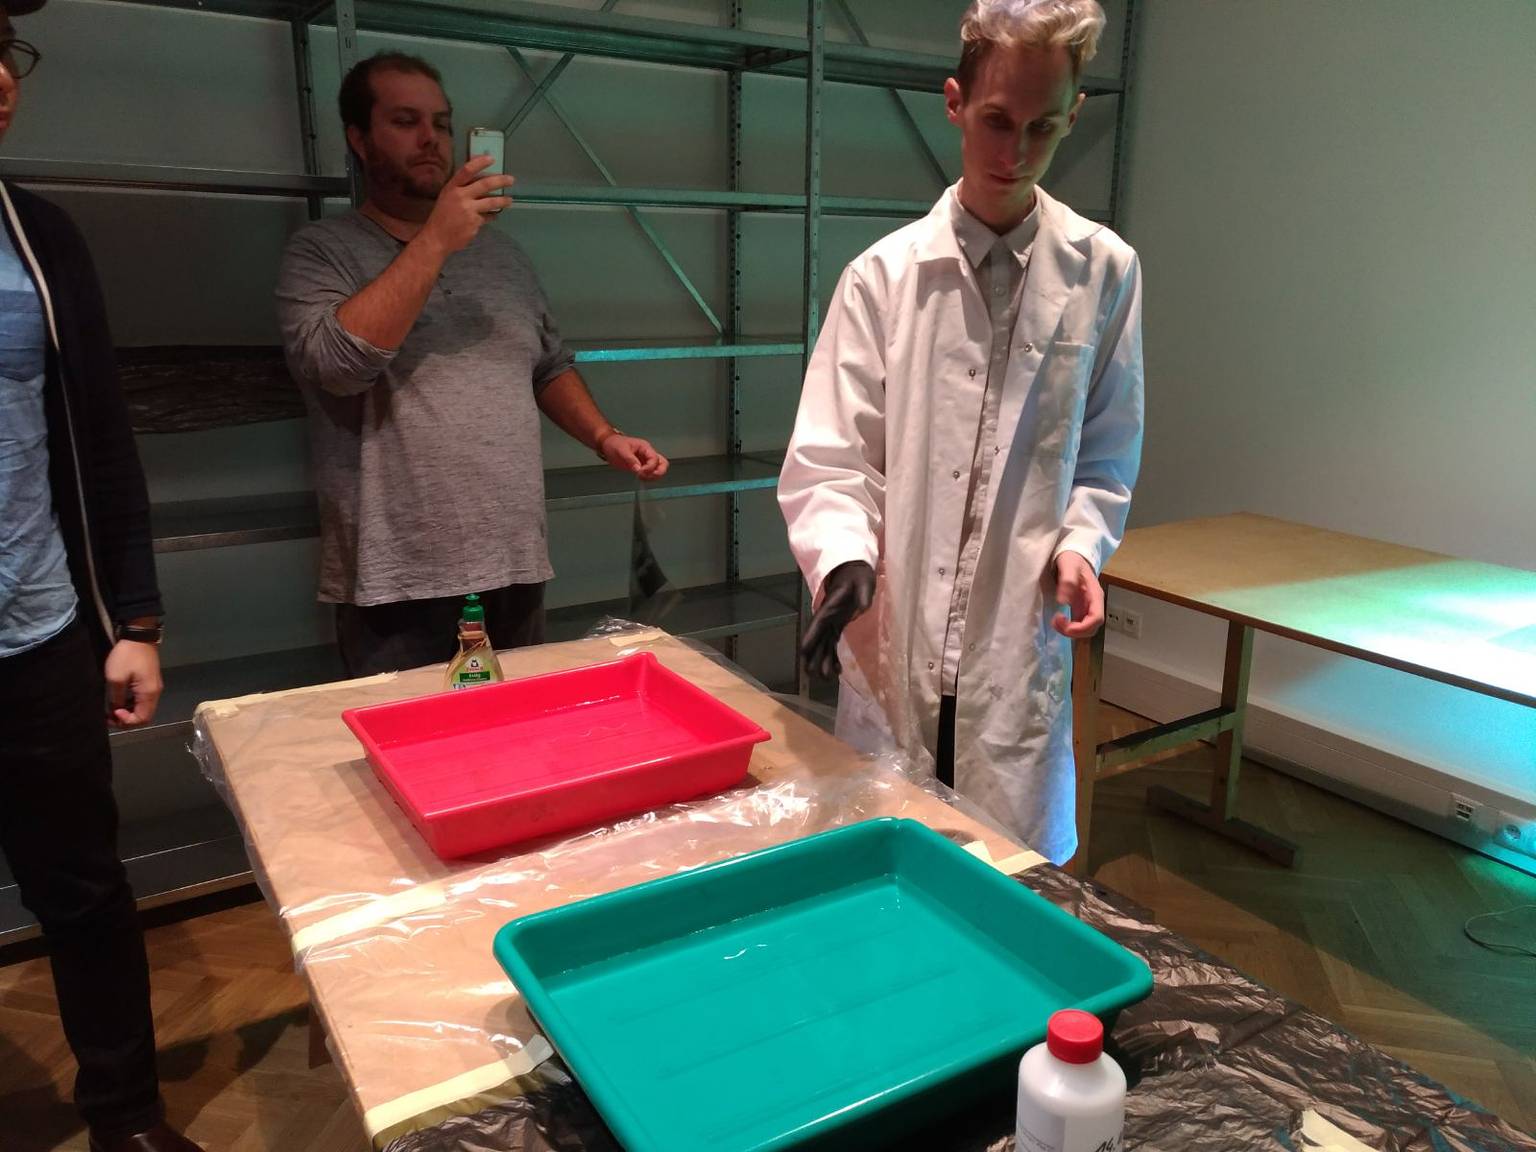
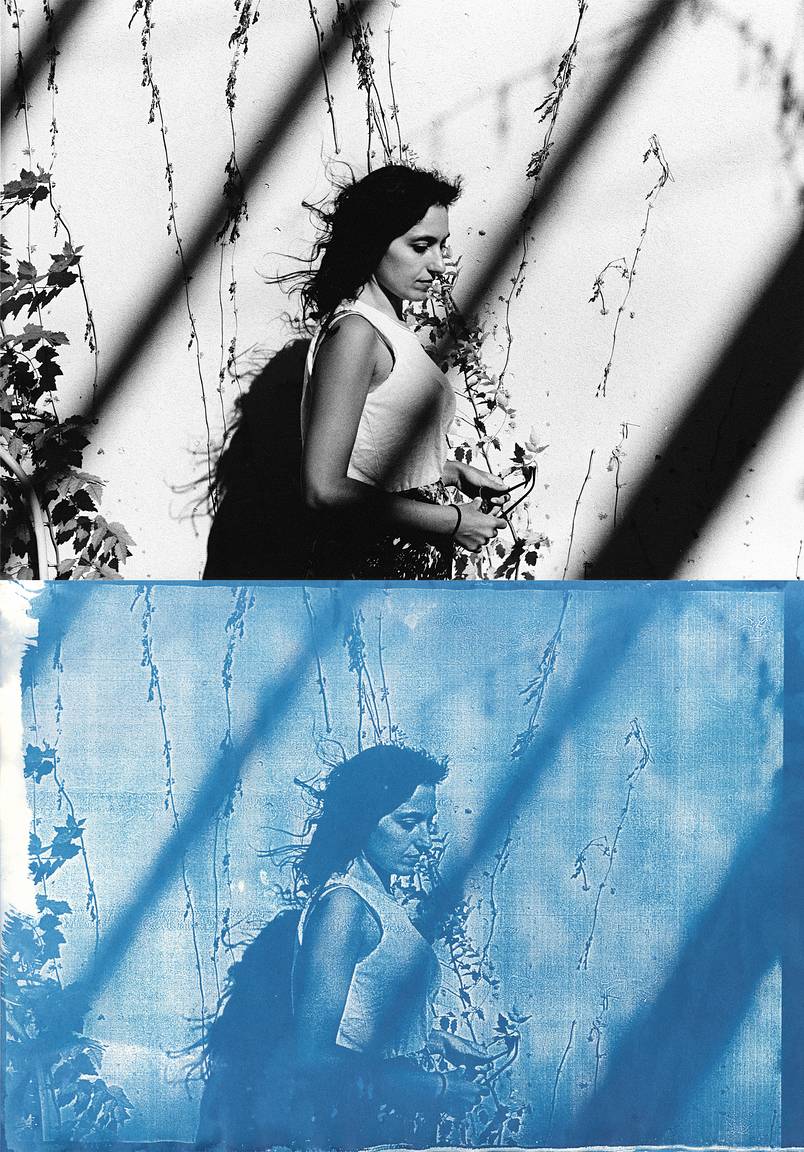
The chemicals employed in the cyanotype formula are ferric ammonium citrate III and potassium ferricyanide III. First, they are mixed individually with distilled water and after these are mixed together in equal parts to create a sensitizing solution that will be applied with a brush. As a substrate for printing you can use watercolor paper, fabric, or any material that has absorbency. It’s better to wear gloves, keep the room ventilated, do not inhale or even swallow the solutions, despite neither of these chemicals poses a serious health risk. This first part must be done in the dark (almost dark, you need to see what you are doing).
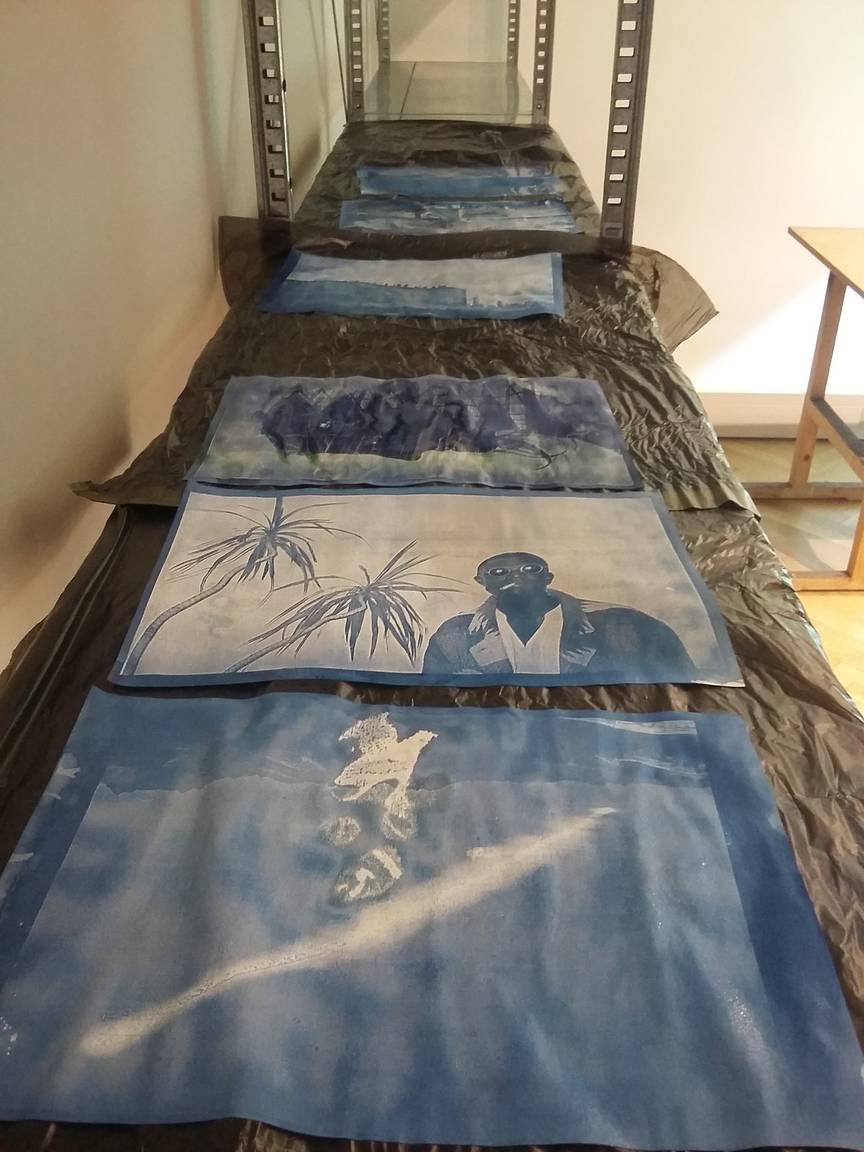


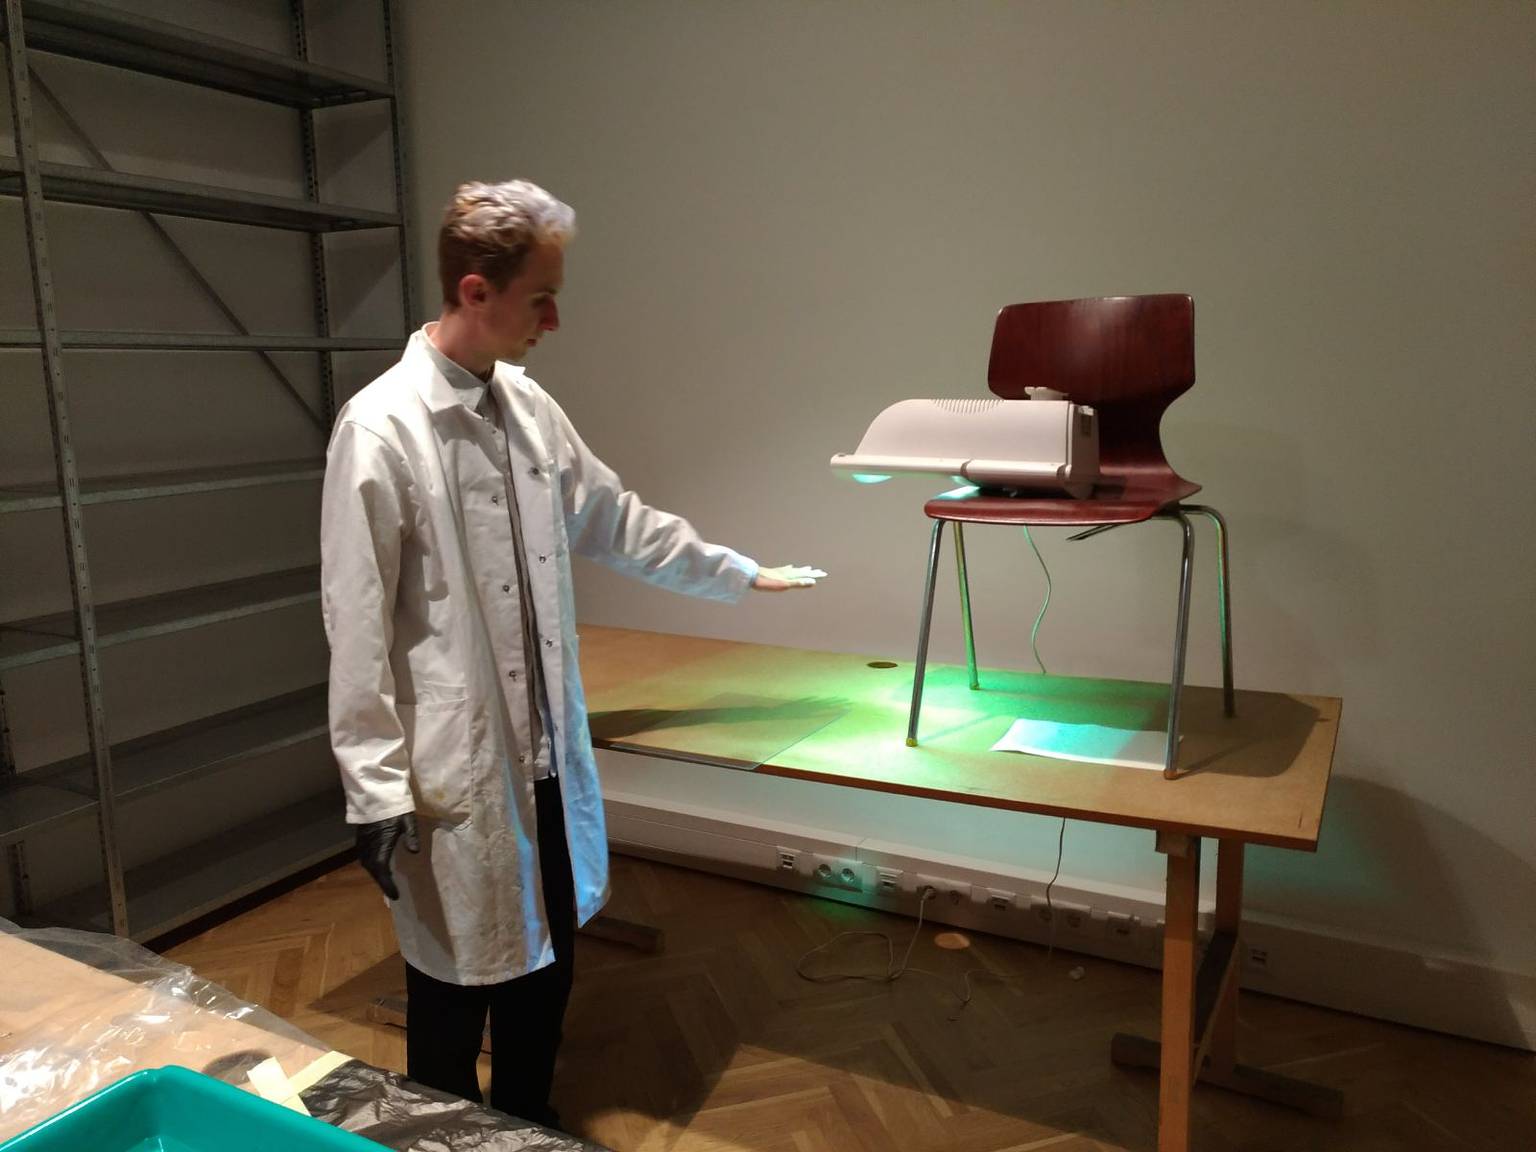
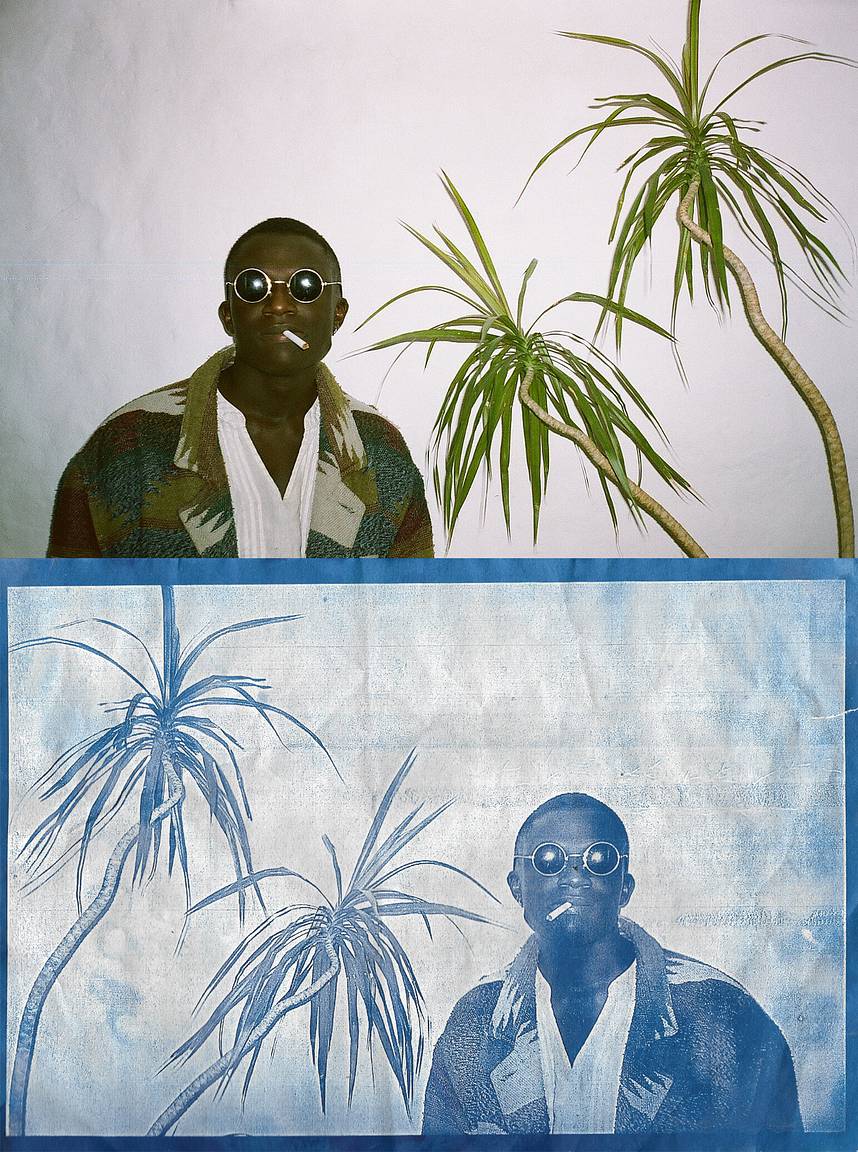
After laying the solution on the sheet you have to dry it , leave the paper in a dark place if you are not going to print it immediately. When you are ready you can place the negative, previously printed, on your support and under an UV light source (sunlight or an ultraviolet lamp). The cyanotype is a contact printing process, this means that you will get a print with the same dimensions as the negative.


The exposure time depends on the negative, remember that the dark areas of the negative will be the light ones, and the darker they are, the more they will need time to let the light through. The transparent areas instead will be the darker one. With an ultraviolet lamp the exposure time varies from three to five minutes, under sunlight you will need more time.
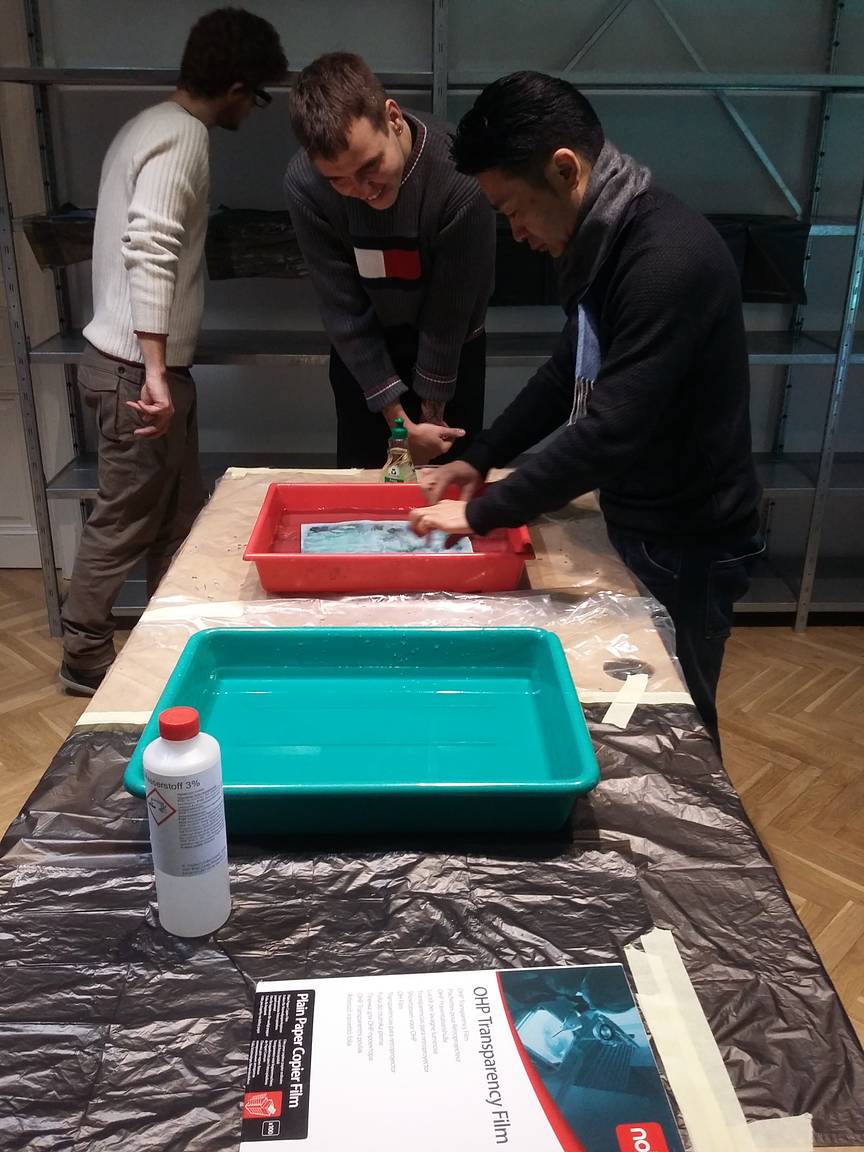
After exposing the support, put it in a basin containing vinegar to wash the solution out, and if you are not satisfied with the blue and the contrast you can immerse the print in a second basin containing another chemist, so the print gets very blue. After this, let the print dry on a flat surface.
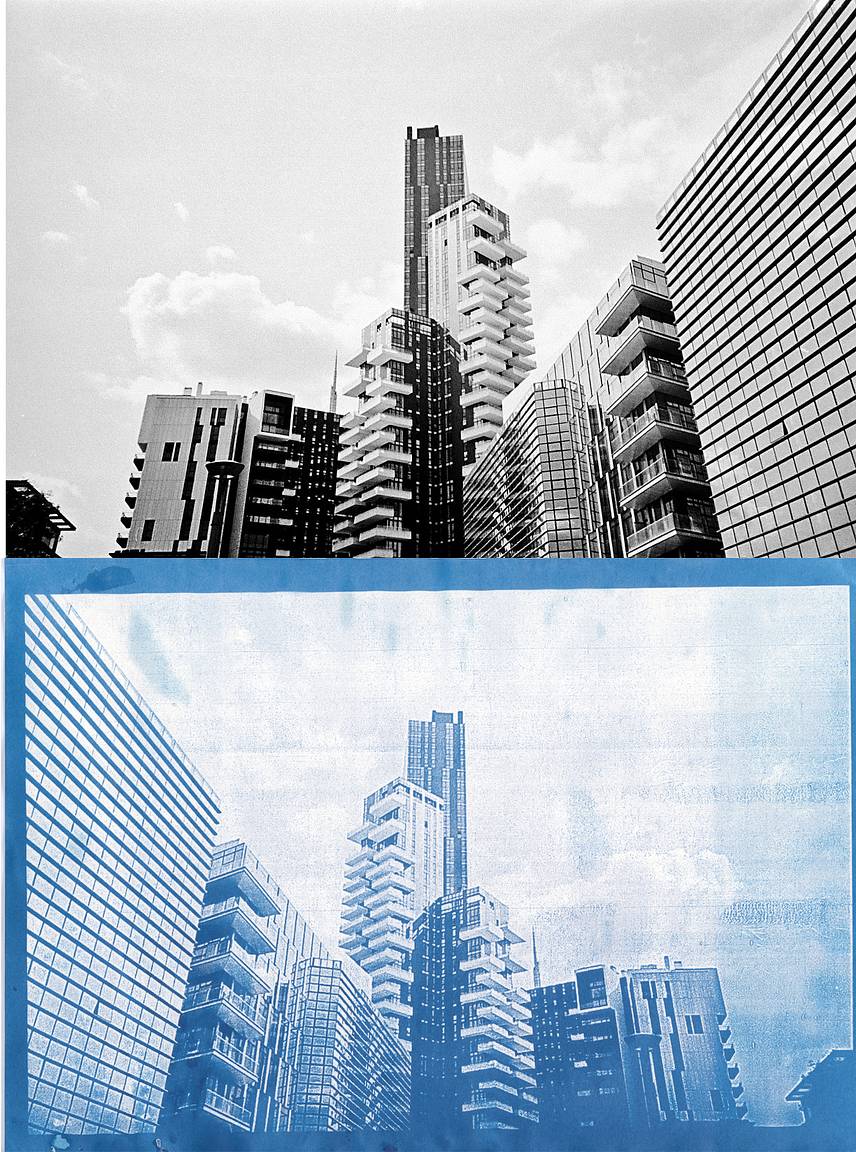
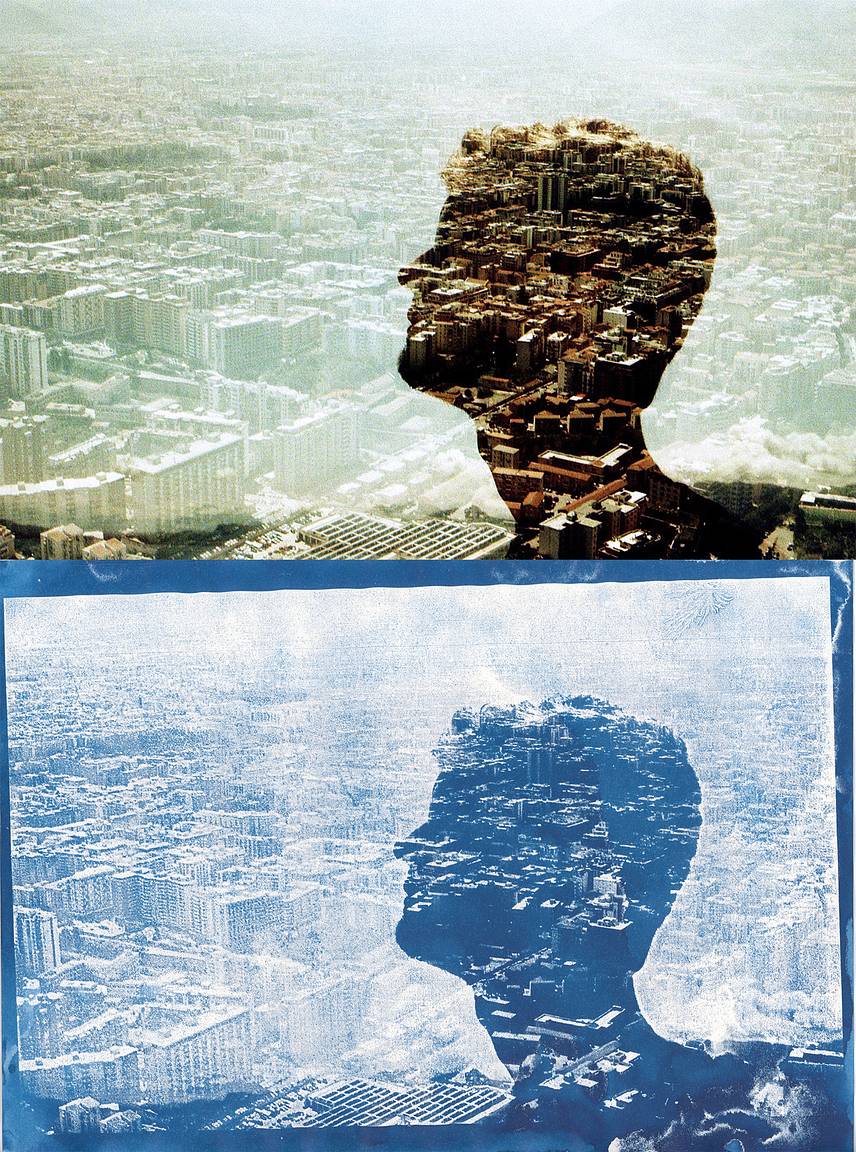
From what I understand, to get a better print you have to use high contrast negatives and choose a graphic picture. Architecture shots work well, but sometimes also with portraits you get interesting results.

The workshop experience was very interesting and fun, a big thank you goes to Michael, who was always patient and helpful.
Now I’m going to tell you a funny incident happened at the end of the workshop. Mario (@guanatos) had asked me and Giona (@gionnired) to speak in Italian with him, because he wanted to practice, so we talked a bit in Italian and without realizing I continued to speak Italian also with Michael, although he did not understand anything he still smiled (or maybe he was scared), perhaps he had understood that I wanted to thank him and greet him, but I apologized immediately and repeated in english what I told him before.
written by Claudia Saveja on 2018-01-13 #people #tutorials #lomowalk #ten-and-one #10and1 #10and1-vienna


One Comment